Seller Tips & Guidelines
Streamline your Agora Exchange experience with these simple steps. From listing your first item to fulfilling orders, our platform empowers you to showcase your products effectively, manage orders efficiently, and provide exceptional service to your customers. With clear guidance on creating listings, managing orders, and delivering top-notch customer experiences, selling on Agora Exchange is a breeze!

- Seller Registration
- Setting Up Shipping
- Stripe Registration
- Image & Video Listing Tips
- How to List Your First Item
- How to Create Your Online Store
- Selling Products and Services using Digital Download Features
- Fulfilling Your Orders
- How to Purchase a Featured Banner on the Homepage

1. Seller Registration
Our seamless registration process ensures quick setup, while our comprehensive seller tools and resources empower you to create compelling listings, manage orders with ease, and deliver outstanding customer experiences. Sign up today and unlock the potential of your business on Agora Exchange.

2. Setting Up Shipping
From defining shipping rates to managing tracking details, our platform provides the tools you need to streamline your shipping operations and deliver a seamless buying experience.
3. Stripe Registration
- Access Your Seller Profile
- Action: Click the person icon in the top right or use the drop-down arrow and select My Profile (Seller).
- Tip: Ensure you have completed your Seller account setup.
- Start Stripe Onboarding
- Action: In the left panel (highlighted in light blue next to “My Account Information”), click Stripe Onboarding. A new window will appear within Stripe.
- Enter Accurate Information
- Note: Ensure all information entered is accurate for smooth transactions and fee processing.
- Email and Phone Verification
- Step-by-Step
- Enter your email address and click Continue.
- Enter your phone number and click Continue
- Input the code sent to your phone.
- Stripe will redirect you to the about page.
- Personal Details Verification
- What to Verify:
- Name
- Email Date of Birth
- Address
- Phone Number
- Last 4 digits of your Social Security Number
- Confidentiality: This information is confidential and must be accurate for a smooth transition between Agora Exchange and Stripe.
- Business Details
- Action: Enter your business details:
- Choose the industry.
- Enter your business website or a social media link.
- If needed, click No URL and complete the product description box.
- Tip: Accurate business information helps in setting up your account correctly.
- Bank Account Information
- Step-by-Step:
- Enter your bank account or debit card information.
- Confirm your bank details.
- Allow Stripe to link to your bank account by logging in or manually entering your bank routing and account number.
- Confirmation and Listing Visibility
- After Completion:
- You will receive an email confirmation.
- Your Seller dashboard will show a message indicating that your listings will become visible once the Stripe process is complete. This may take up to 72 hours.
- Troubleshooting and Support
- If Issues Arise:
- You will receive a link to resolve any issues if your account faces restricted access.
- If not approved within 1-3 business days after corrections, contact Agora Exchange’s customer service at admin@agoraexchange.com.
- Editing Personal Information
- Action: Click Stripe Onboarding and follow the instructions to edit your personal information.
- Congratulations!
- Note: You have completed the Stripe Onboarding process! Feel free to reach out if you have any questions.

4. Image & Video Listing Tips
Clear, high-quality images and videos are essential for showcasing your products and attracting customers. Poor-quality images can negatively impact your listings. Here are some tips to help you optimize your visuals according to Agora's requirements.
- Image Requirements
- File Types: .jpg, .gif, or .png
- Ratio: 1:1 (e.g., 200x200, 300x300, 400x400, 500x500, or 600x600)
- Size: Width between 200px and 600px
- Accuracy: Images must accurately represent the product being sold
- Photography Tips
- Variety: Take multiple photos in different lighting, angles, and backgrounds to find the best look.
- Clarity: Ensure images are clear and free of blurriness.
- Relevance: Only include items in the photo that come with the product.
- Uploading Images
- Multiple Uploads: To upload multiple images at once, hold the Shift button while selecting files.
- Additional Images: You automatically get 5 images per product. You can add up to 3 more images by purchasing an option, for a total of 8 images plus a video
- Video Requirements
- Format: mp4
- Size: Do not exceed 10MB
- Content Guidelines
- Prohibited Content: Images must not contain nudity or be sexually suggestive.
- Main Image: If your main image doesn't accurately resemble the product, Agora will suppress your listing, making your product inactive.
Remember: High-quality visuals not only comply with Agora's standards but also help build trust with your customers and enhance your sales potential.


5. How to List Your First Item
Before listing your product, ensure that your Stripe Onboarding and Custom Shipping are complete.
Steps to List Your Item:
- Access Your Seller Account
- Action: Log into your Seller account, click the person icon or arrow box, and choose My Profile.
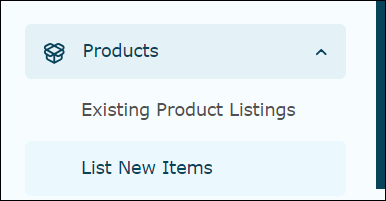
- Navigate to List Items
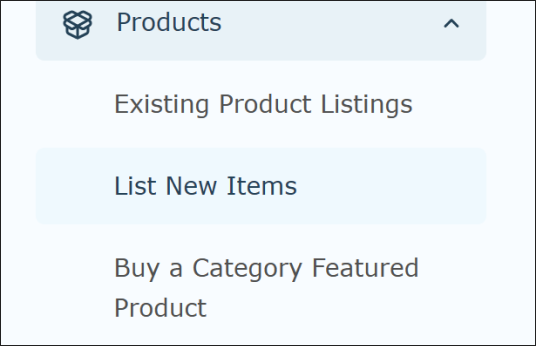
- Action: On the dashboard (left side of the screen), scroll to Products and choose List Items or List New Items.
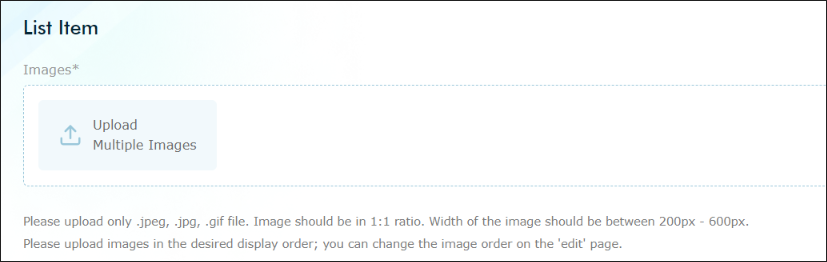
- Upload Images
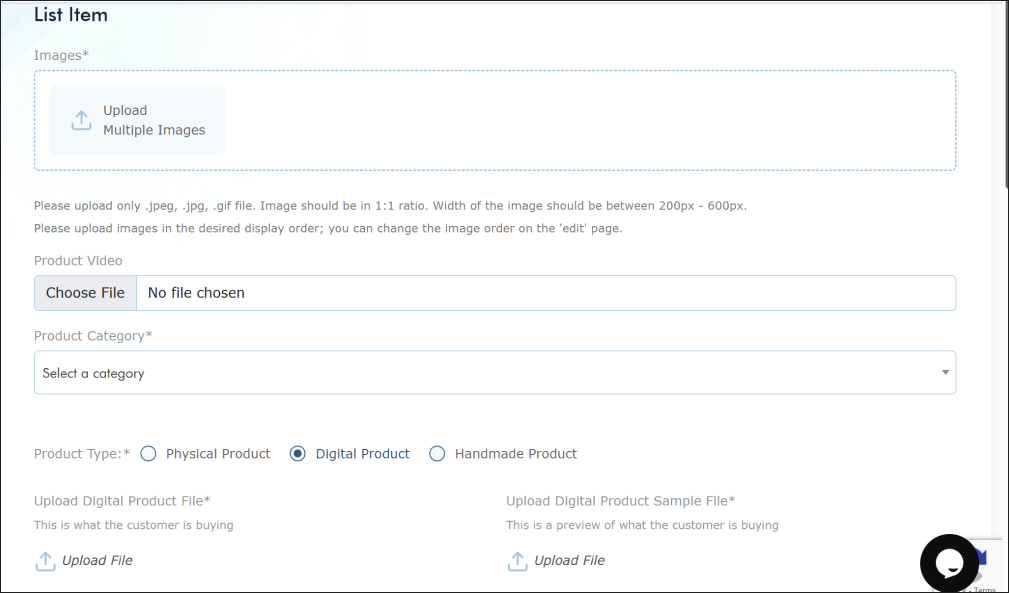
- Action: On the List Item page, click Upload Multiple Images (light blue background).
- Tip: Images must be .jpg, .gif, or .png format, in 1:1 ratio, and width between 200px - 600px. Examples: 200x200, 300x300, 400x400, 500x500, 600x600 pixels.
- Multiple Uploads: Hold the Shift button while selecting files to upload multiple images at once.
- Image Limit: You can upload 5 images by default, with an option to add 3 more for a total of 8 images.
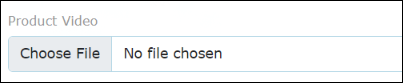
- Upload Product Video
- Recommendation: Product video should be in mp4 format and not exceed 10MB.
- Complete Product Information
- Details to Enter:
- Category: Select from the dropdown menu.
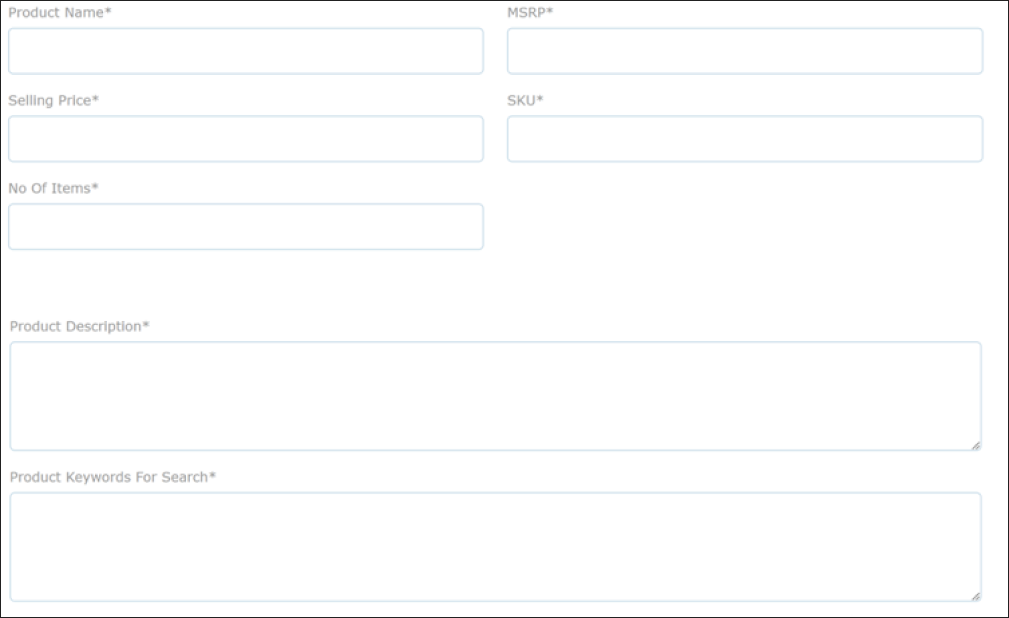
- Product Name: This is how your product will be displayed on the site.
- Retail Price & Selling Price
- SKU Number: Stock keeping unit number.
- Quantity: Number of products you are listing.
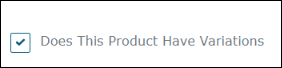
- Handle Product Variations
- Action: If your product has variations, click the box and complete the additional information.
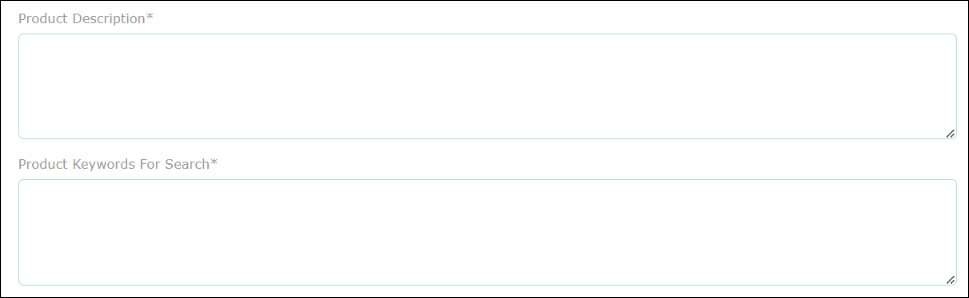
- Write Product Description and Keywords
- Description: Enter a detailed product description as it will appear on the site.
- Keywords: Include all relevant words or phrases related to your listing that potential customers might search for.
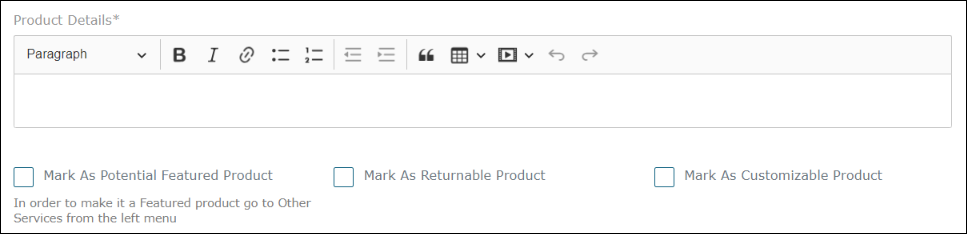
- Additional Product Options
- Options to Select:
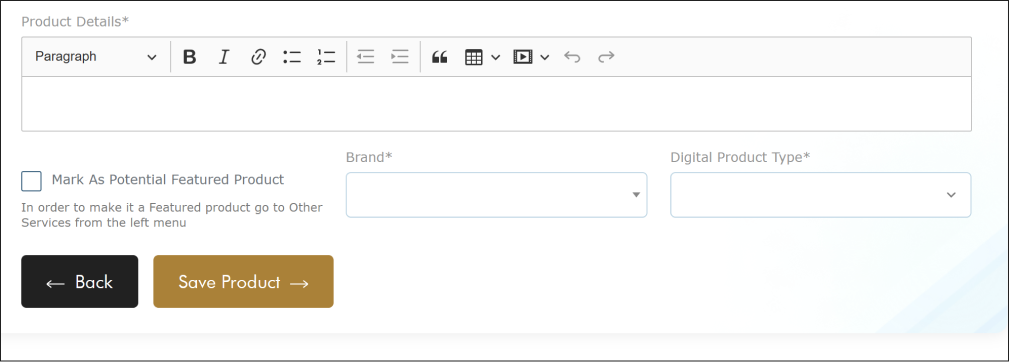
- Featured Product
- Returnable
- Customizable
- Brand Name
- Action: Select the brand name from the dropdown. If it’s a new brand, type the name and press enter to add it.
- Enter Shipping Weight and Dimensions
- Weight: Must be a whole number, described in kilograms or pounds.
- Dimensions: Described in centimeters or inches.
- Note: Enter shipping weight before dimensions. Optionally, include item size and weight in the product description.
- Finalize Your Listing
- Action: Double-check all entered information.
- Save: Click Save Product to make your item visible on the site.


Congratulations! You have successfully listed your first product with Agora Exchange.

6. How to Create Your Online Store
Prohibited Items: Tobacco, drugs or drug paraphernalia, firearms, hazardous materials, pornographic material, and any illegal items in the US. Items using intellectual property of others, even if designed or created by you, are not allowed. Follow local laws to ensure compliance.
Steps to Create Your Store:
- Complete Your Seller Account
- Ensure your seller account setup is finished before creating your store.
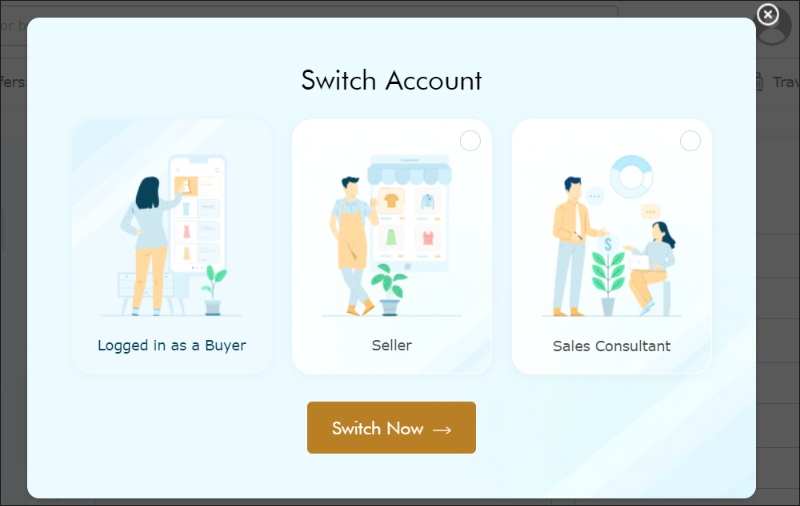
- Access Your Profile
- Action: Click the per icon in the top right of home page and choose My Profile. Go to Switch Accounts and make sure you have selected your Seller account.
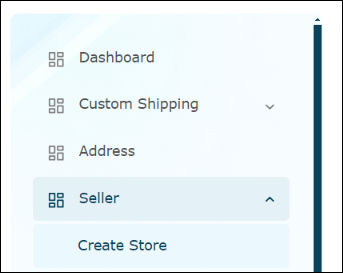
- Create Your Store
- Action: In the left panel of your Seller account, choose Create Store.
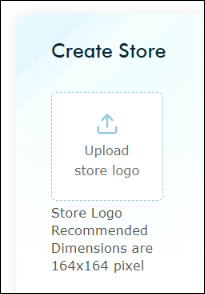
- Upload Your Store Logo
- Requirements:
- High-quality
- 1:1 ratio
- No larger than 164 x 164 pixels
- Adheres to Agora’s policies.
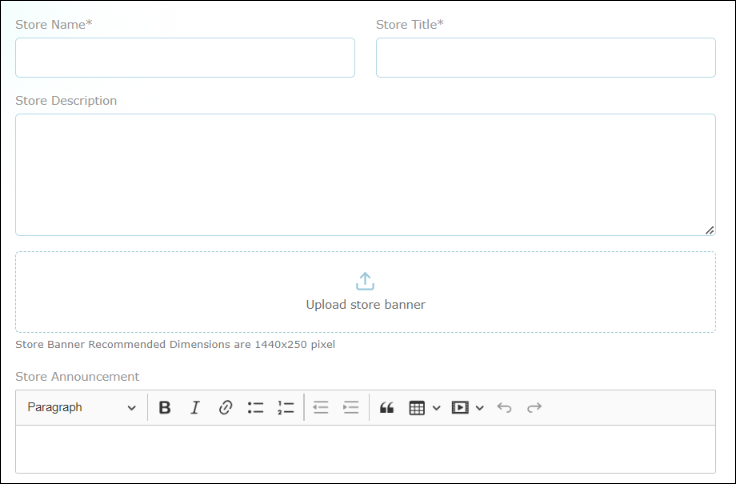
- Complete Store Information
- Fields to Fill:
- Store Name: Appears in your unique URL.
- Store Title: Briefly describe your business.
- Store Description: Share your story and product importance.
- Store Banner: 1440x250 pixels, can be created using tools like Canva.
- Store Announcement: Communicate sales, away time, or other important info.
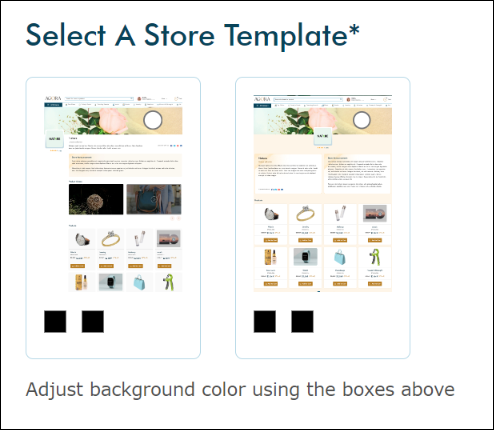
- Customize Store Template
- Action: Select your store template by clicking the small white box in the top right of the boxed screen. Choose background colors to your liking.
- Packages:
- Standard Pro: One store template.
- Deluxe Pro: Two templates to choose from
- Upload Product Images
- Action: Upload a variety of product images to display for potential customers.
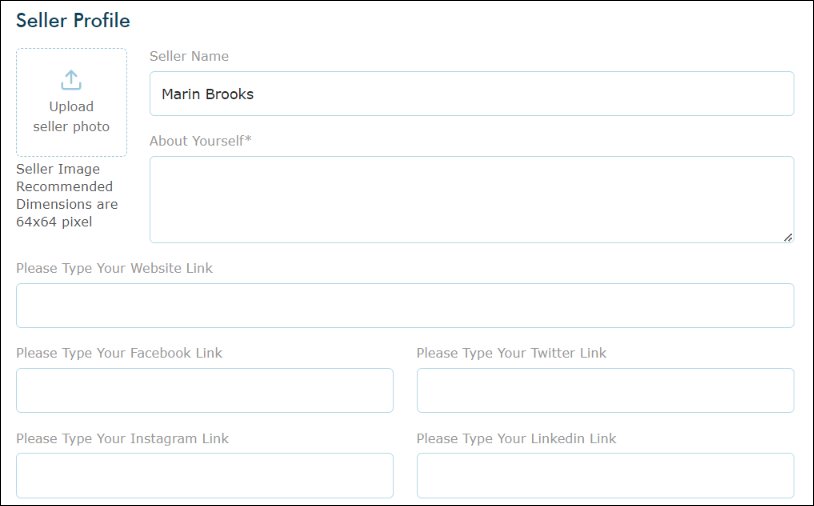
- Enter Seller Profile Information
- Details to Include:
- Name
- Short biography
- Important website links
- Social media links
- Seller photo (optional)
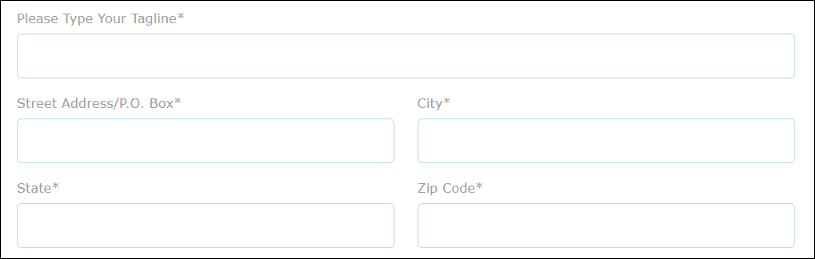
- Enter Tagline and Address
- Action: Add your store's tagline or slogan and the associated address.
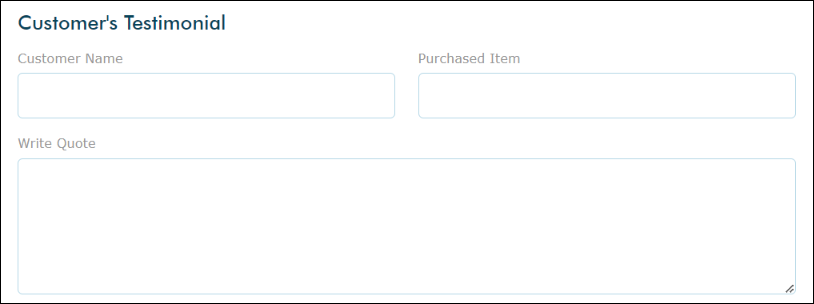
- Include Customer Testimonials
- Optional: Add customer testimonials if available.
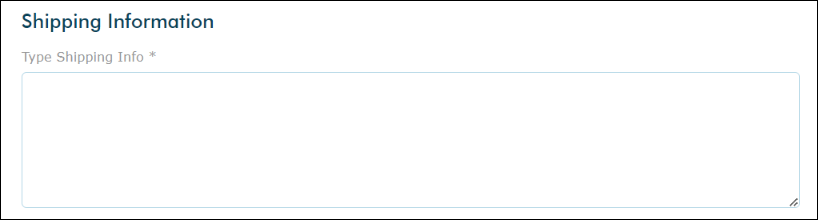
- Provide Shipping Information
- Details to Include: Shipping policy, expected shipping times, etc.
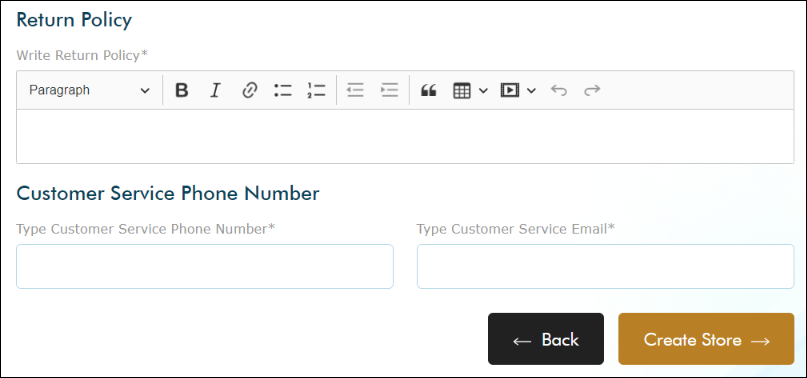
- Add Return/Refund Policy
- Details to Include: Return/refund policy, contact phone number, and email.
- Finalize and Submit
- Action: Verify all entered information is correct and click Submit.
Congratulations! You have successfully created your online store with AgoraExchange.com! You can edit your store anytime by navigating to the dashboard and choosing Edit Store. View your store by navigating to your listed product or selecting it in your Seller profile.
7. Selling Products and Services using Digital Download Features
Whether you're offering vouchers for services like massages, Pilates, or digital items such as music, videos, or art, our digital listing option has you covered. The process is simple:
- Access Your Seller Panel
- Navigate to Products in your Seller panel and select List New Items.
- Upload Images or Videos
- Next Steps: Upload images or product videos to market your digital listing.
- Select "Digital Product"
- Choose Digital Product beside "Product Type" to enable file uploads.
- Upload Digital Product File
- Main Product: Upload the digital file customers will receive upon purchase.
- Upload Digital Product Sample File
- Preview: Upload a sample file for buyers to preview before purchase (e.g., watermarked image, music snippet).
- Enter Product Details
- Information Needed: Product Name, MSRP (Suggested Retail Price), Selling Price, SKU#, and number of items available for download.
- Tip: Provide an accurate description and use relevant keywords for search optimization.
- Product or Service Specifications
- Additional Information: Include specs not covered in the description (e.g., validity period, measurements, special features).
- Save and Publish: Once all mandatory fields are completed, click Save Product to make your listing available for purchase.
- Selling Services on AgoraExchange.com:
- When offering service vouchers, include the following details in your listing:
- Validity Period
- Requirement: Ensure the voucher deal is valid for at least 1 year from the time of purchase.
- Redemption Process
- Terms & Conditions: Specify that purchasers must present both the voucher and invoice to redeem the deal. Each invoice has a unique number for verification.
- Expiration Policy: Even if the voucher has expired, assure buyers that you will credit the amount paid towards the regular price of the service provided or a similar service.
8. Fulfilling Your Orders
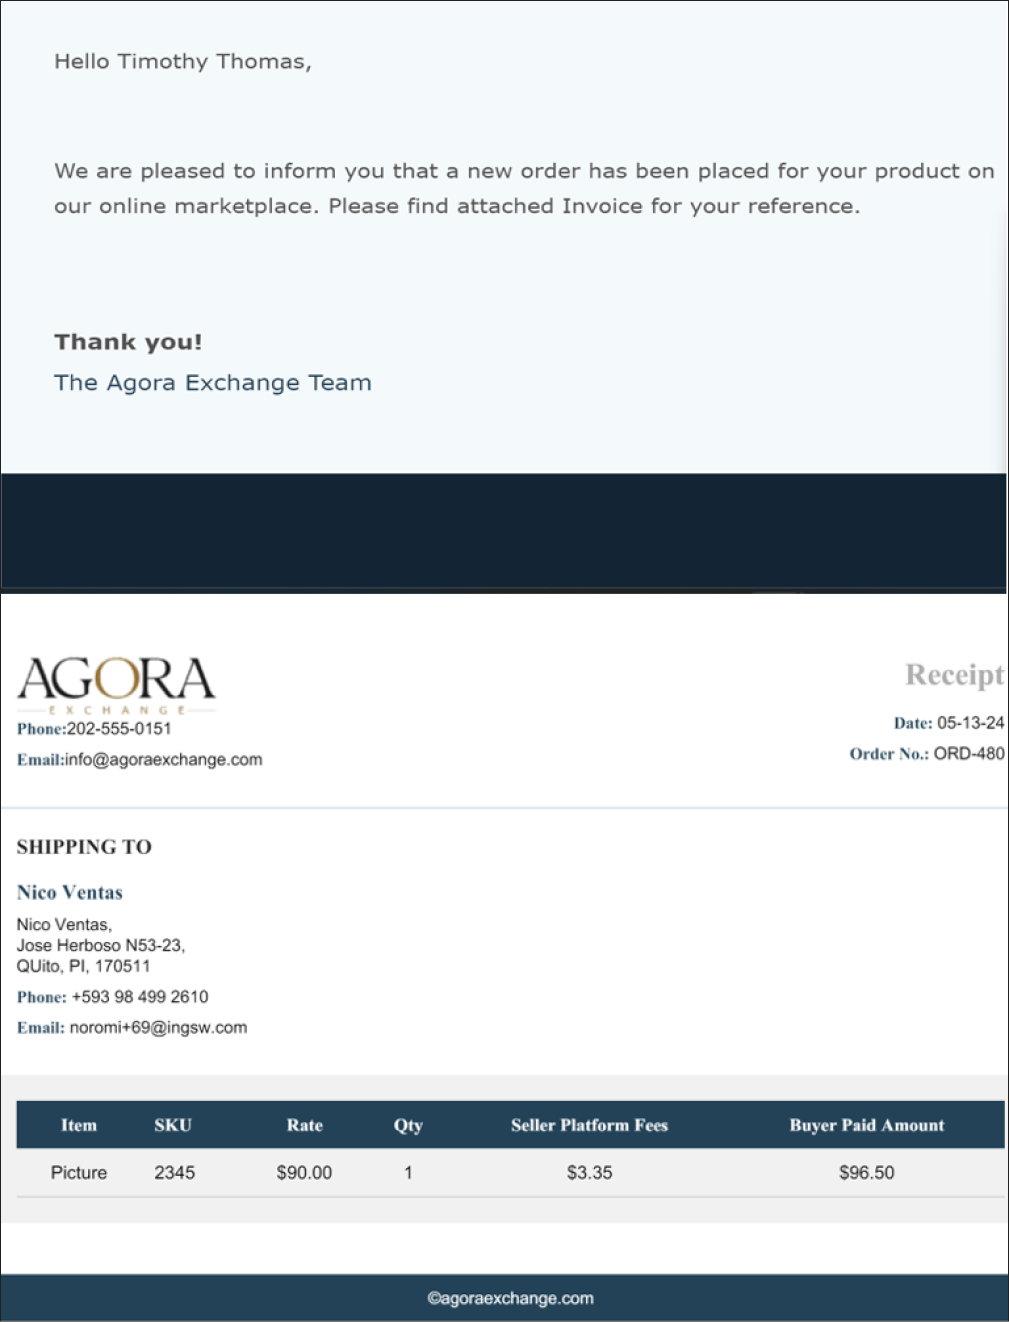
Once you receive an order, you'll be notified and it will appear in your Seller Dashboard as a "New Order." Digital download orders do not appear here, but will show in your completed orders. An invoice with order details will also be attached to this email.
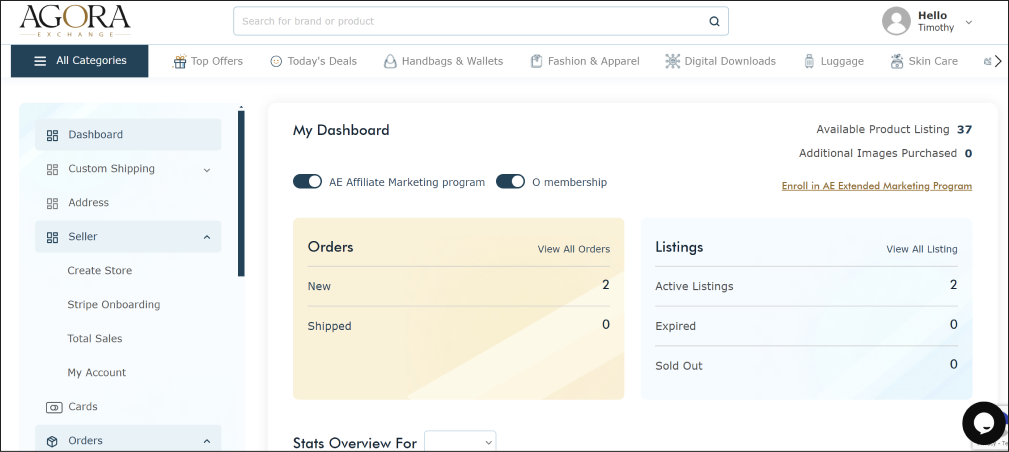
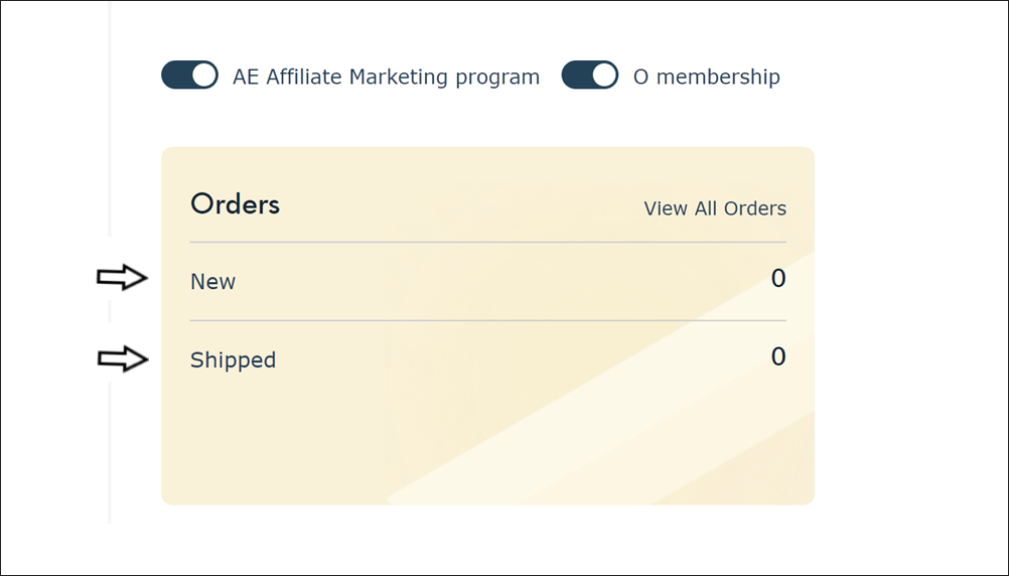
- Dashboard Overview:
- My Dashboard: Displays the total number of orders.
- Orders Section: Allows you to view all orders.
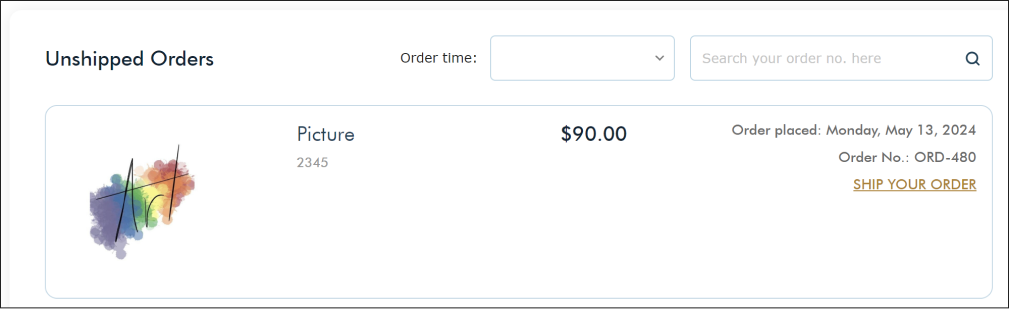
- Viewing New Orders:
- Click on New to view purchased items, purchase date, and order number.
- To proceed with shipping, click SHIP YOUR ORDER.
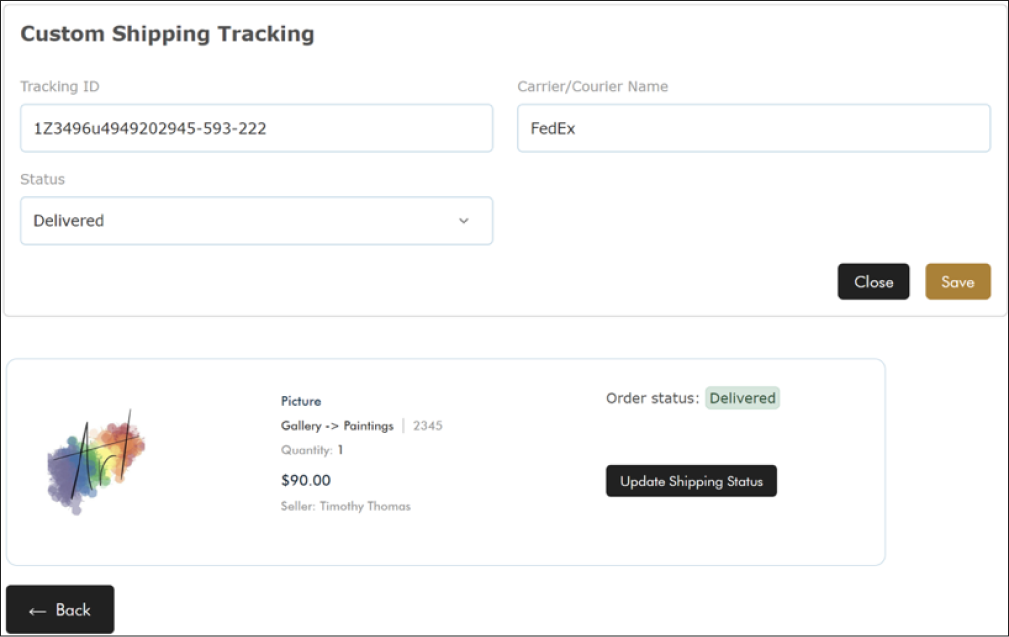
- Shipping Process:
- After clicking SHIP YOUR ORDER, you'll see the Order Details, including shipping address, customer name, and phone number. The order status remains “New”.
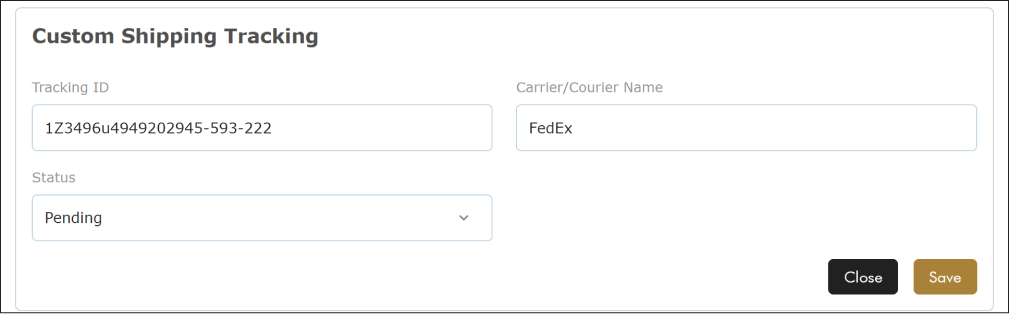
- Click Add Custom Shipping Tracking Details to enter the tracking ID/# and courier name.
- Update the status to “Shipped”.
- Applying Shipping Information:
- If there are multiple orders, you can apply the same shipping information to all unshipped orders.
- Click Save once all details are entered.
- Notification to Buyer:
- Once saved and shipped, the buyer will receive an email notification with shipping updates.
- Buyers can view order status in their account under “My Orders”.
- Delivery Confirmation:
- When the item is delivered, update the shipping status to “Delivered” and click Save to complete fulfillment.
- Resetting Orders:
- After delivery, “New” and “Shipped” orders will be reset.

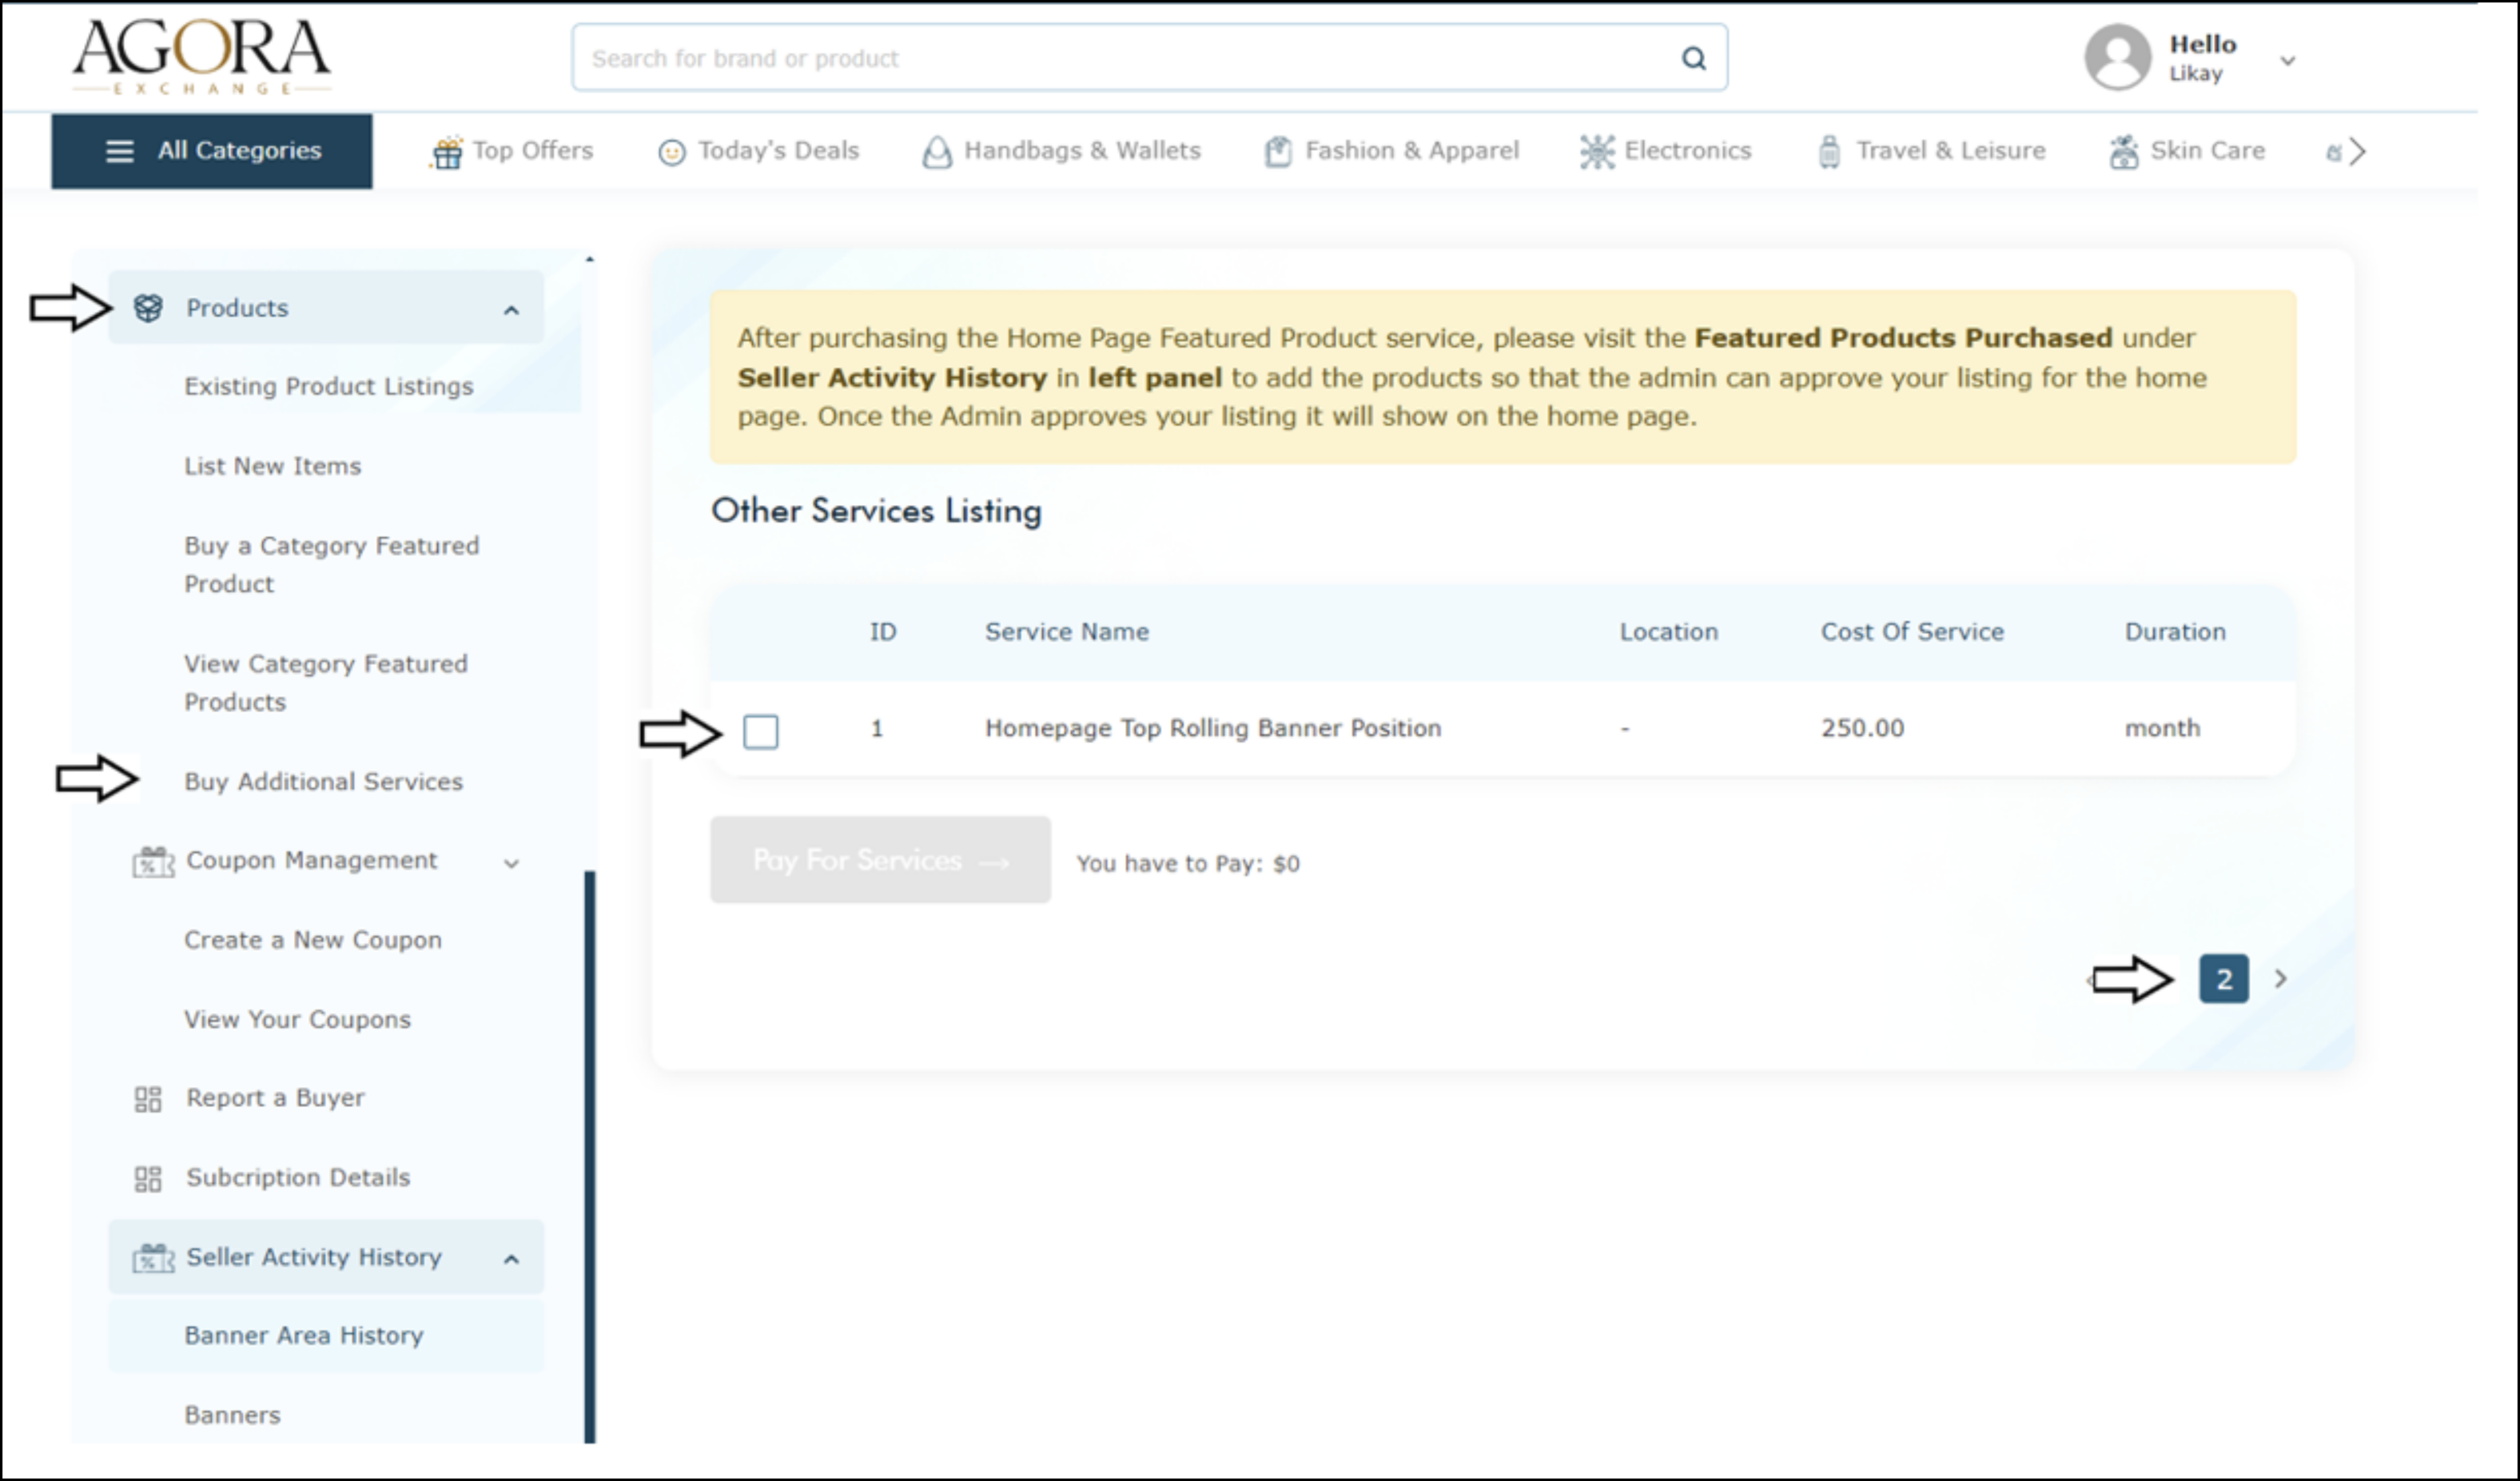
9. How to Purchase a Featured Banner on the Homepage
To purchase a Banner Featured on the homepage, follow these steps:
- Select the products and any additional services you need.
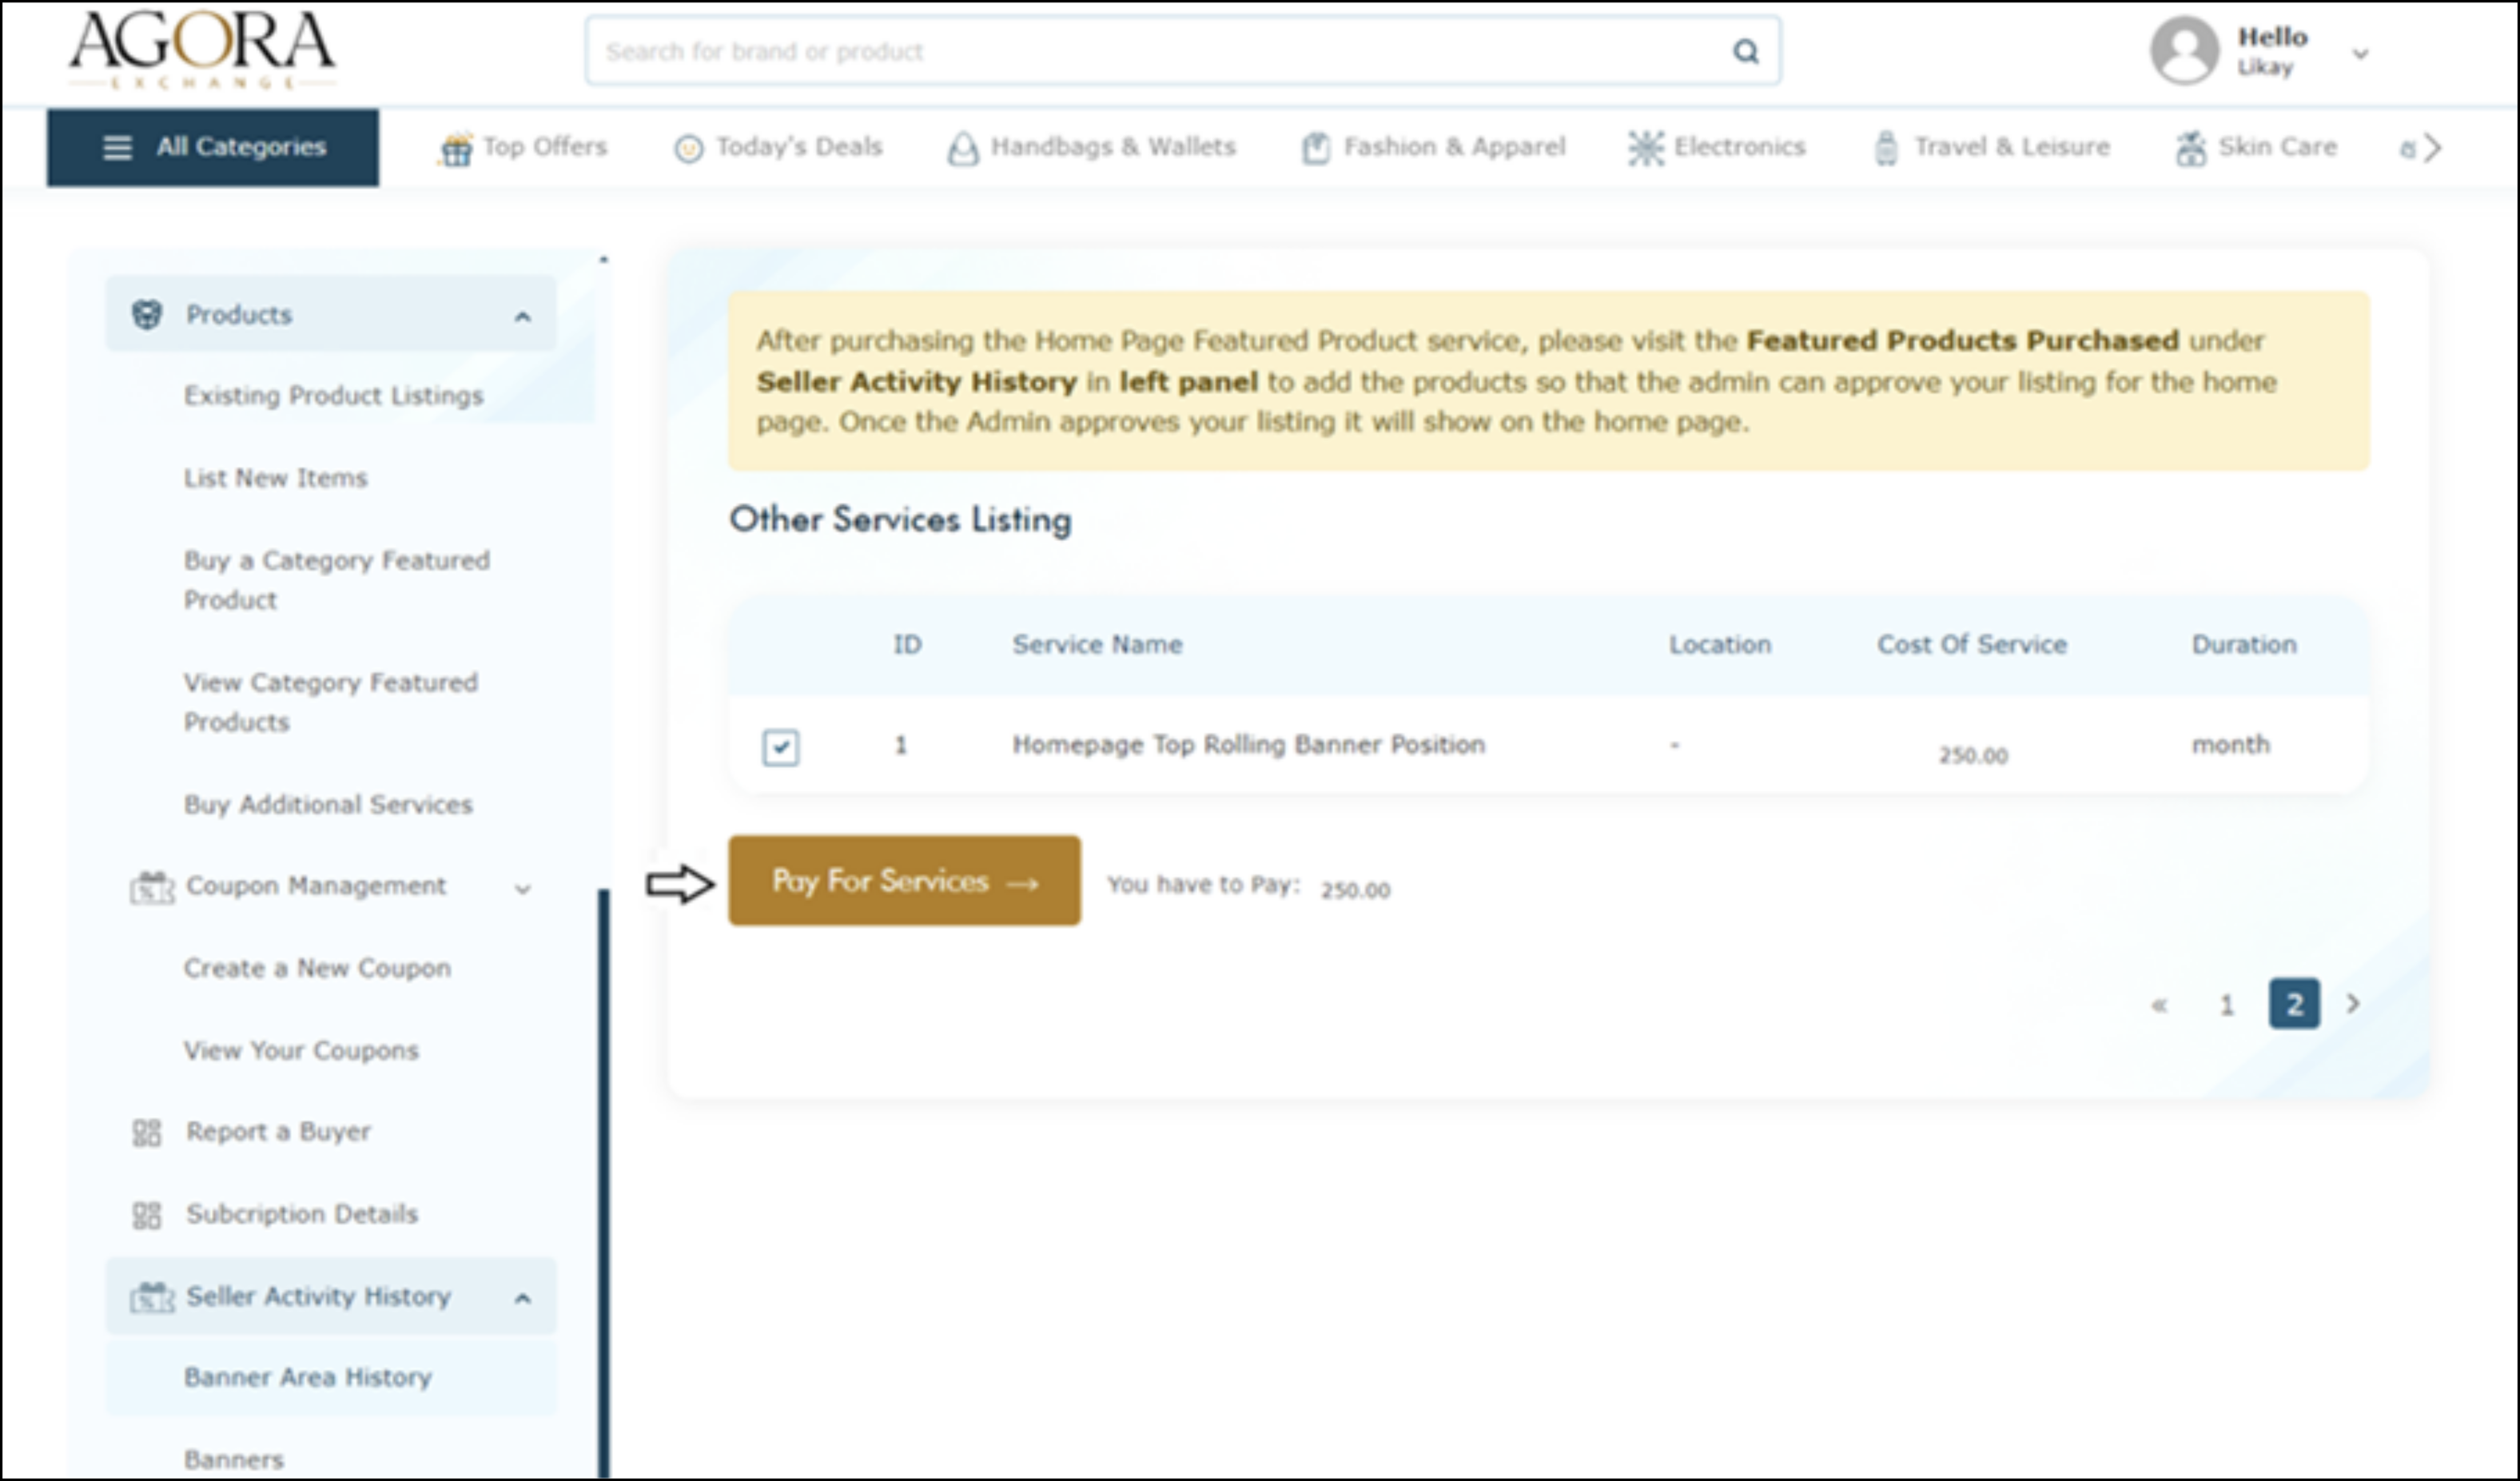
- Choose the banner area of your preference. For example, select the "Homepage Top Rolling Banner" position (found on the second page).
- After making your selections, the gold button will light up and display your total purchase amount.
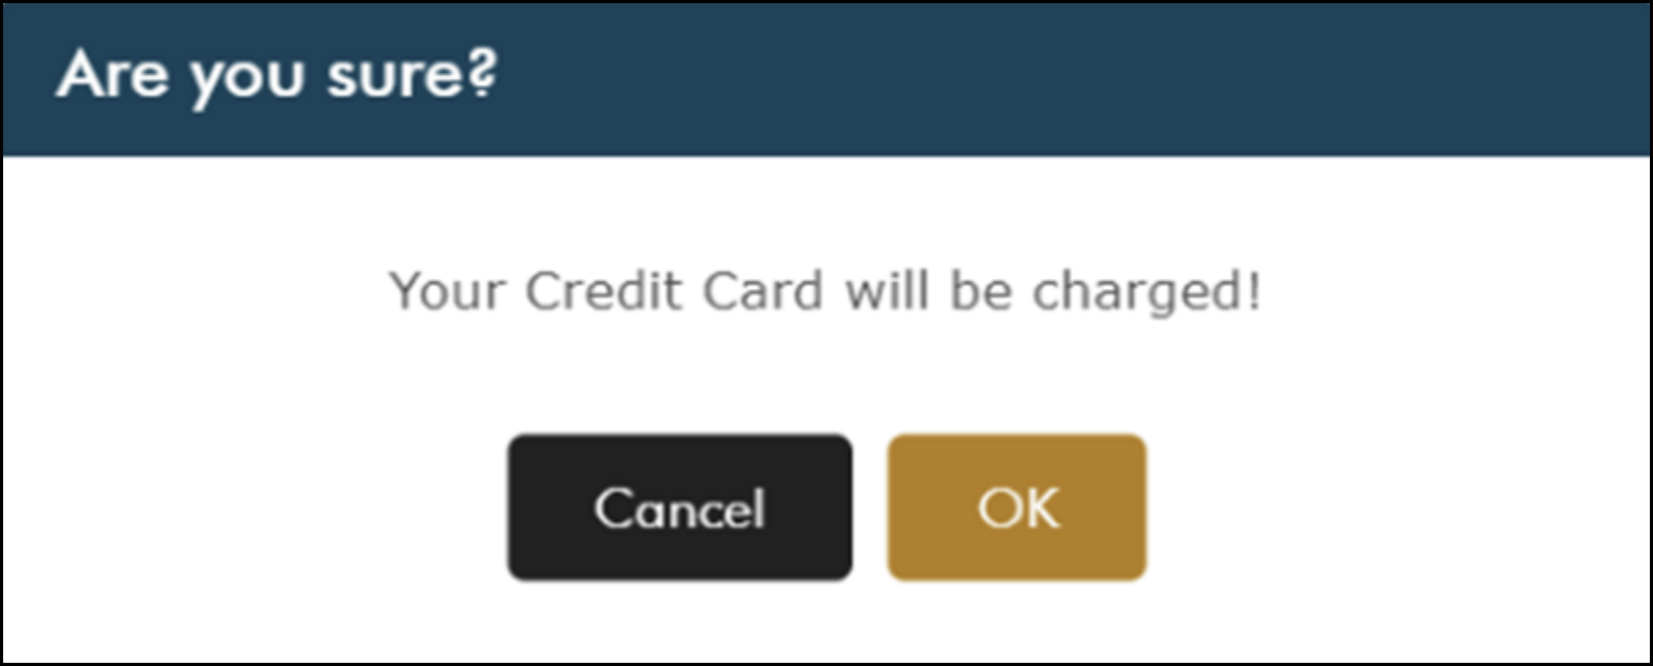
- You'll receive a notification confirming that your credit card has been charged.
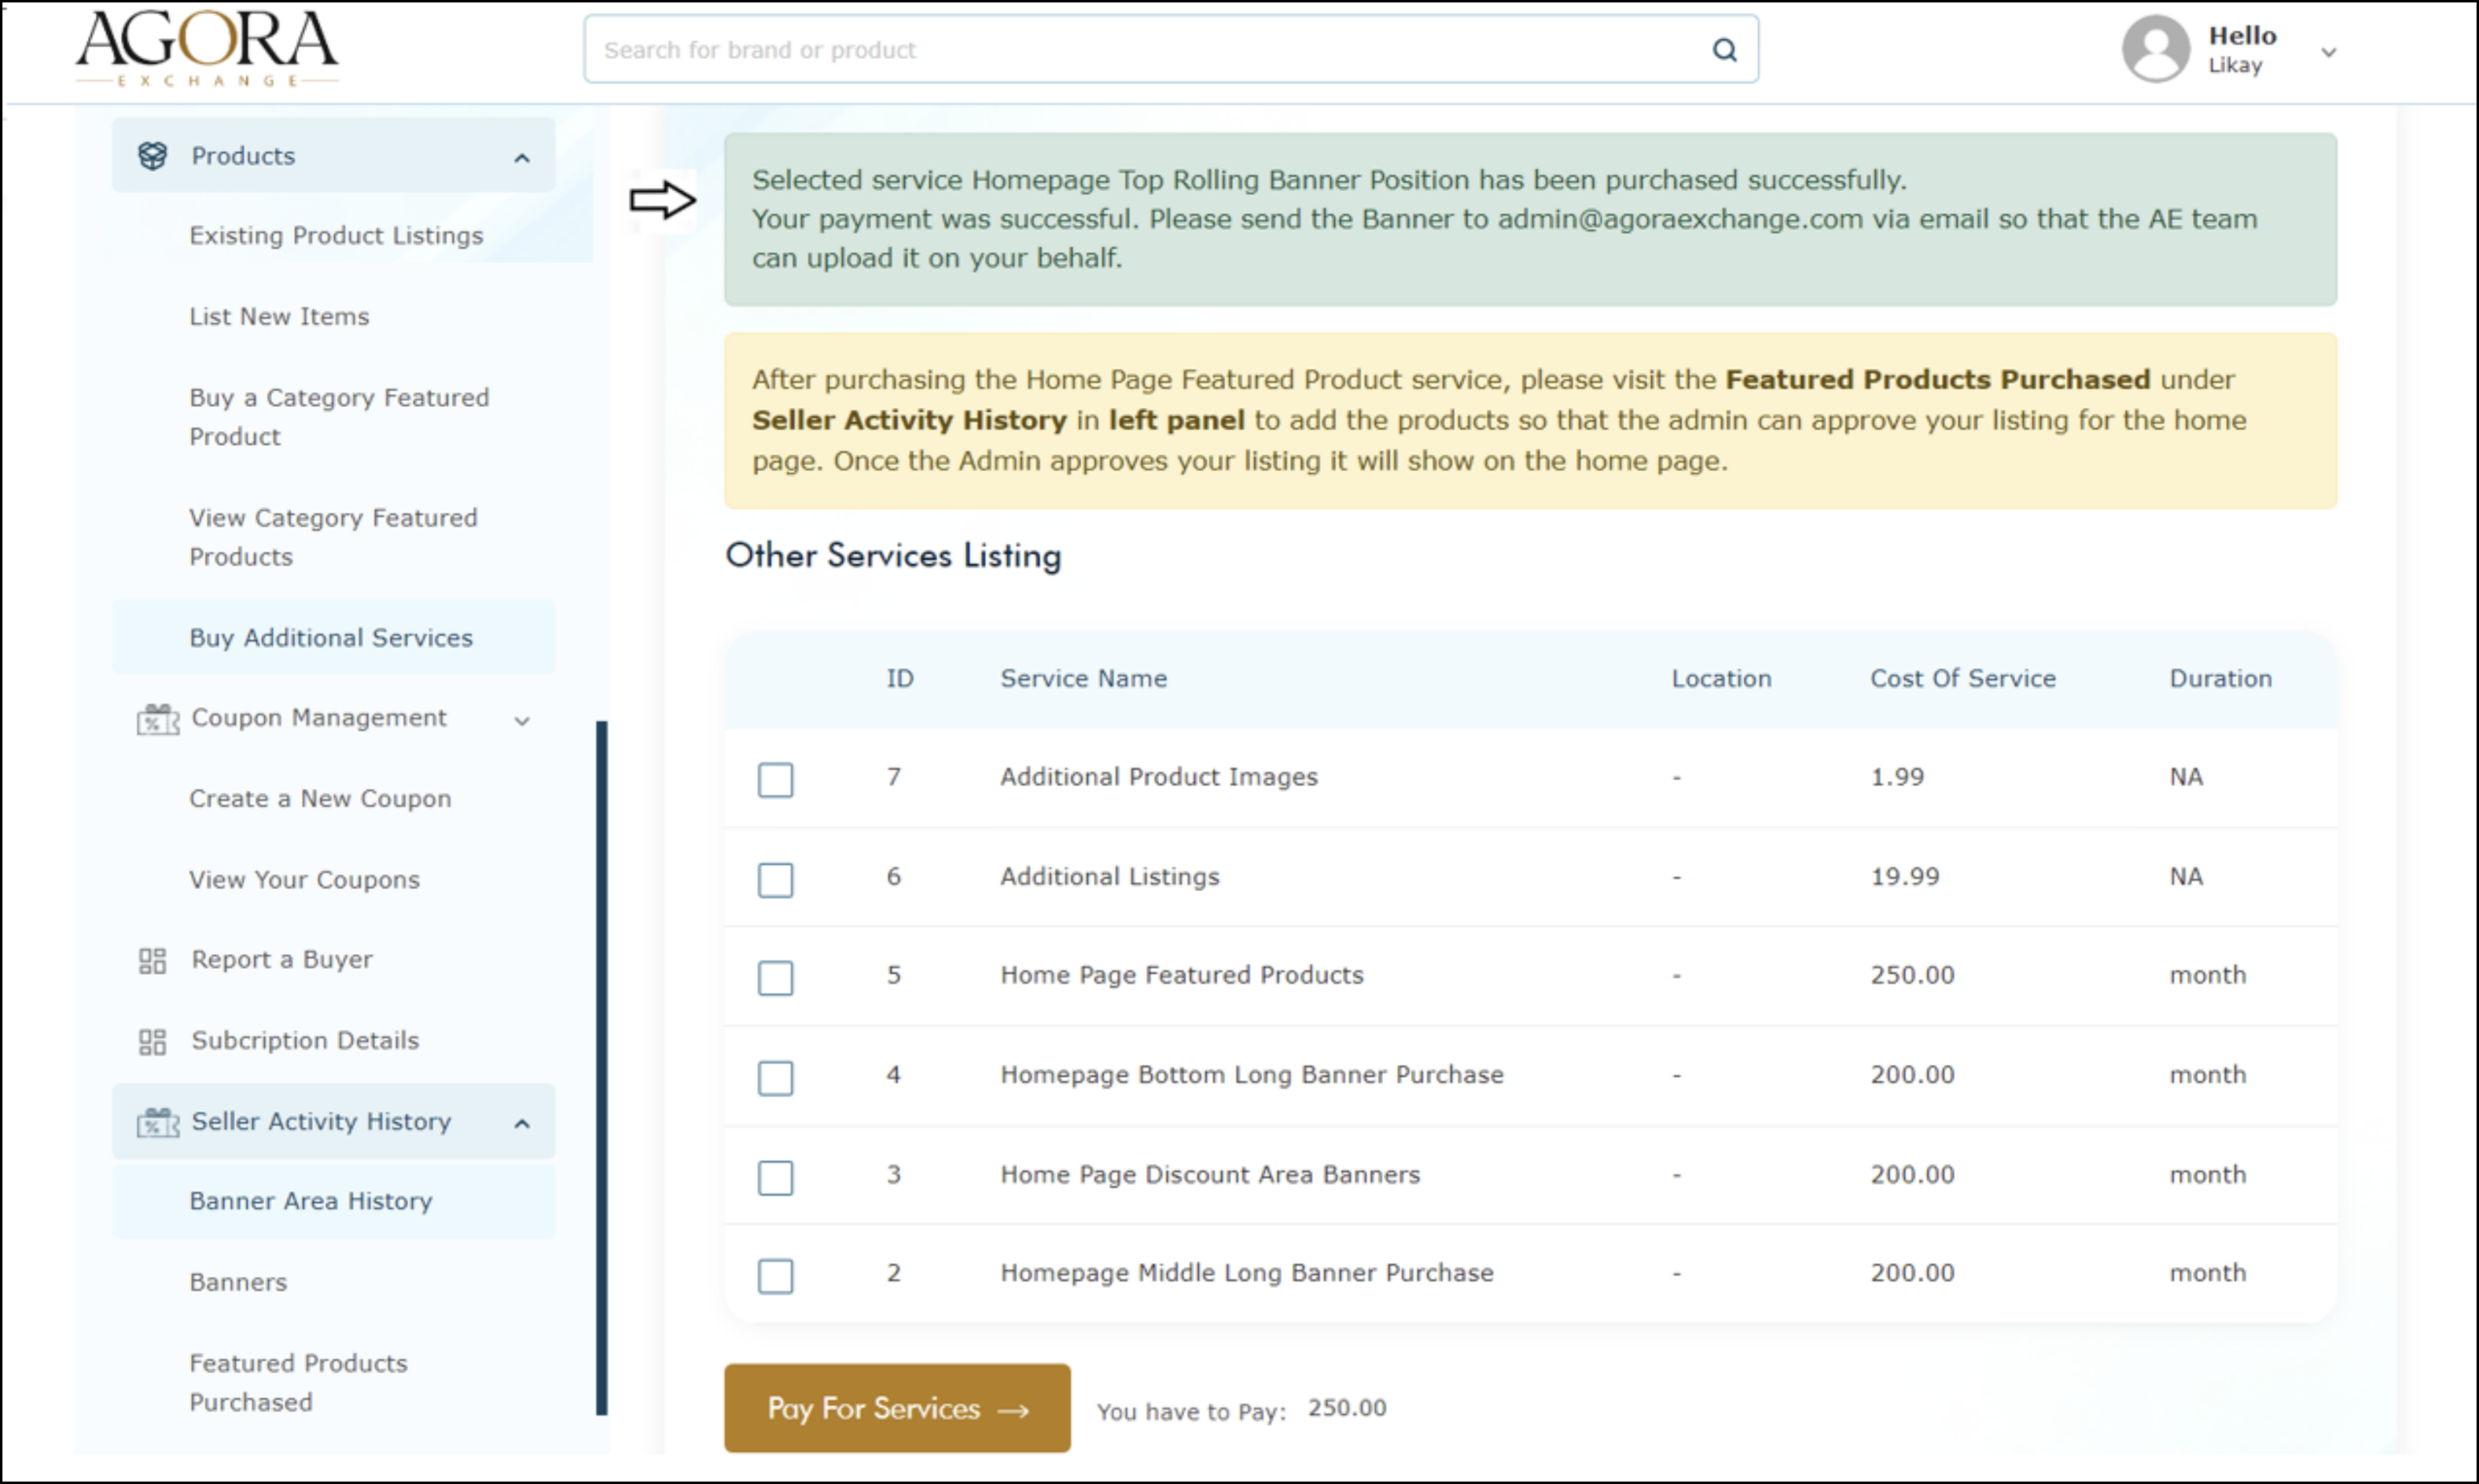
- A confirmation message will appear on the main screen. Next, submit the banner or image you would like us to incorporate into your banner to Admin@AgoraExchange.com. After the Agora Exchange team reviews and approves your submission, your banner will be displayed in the top rolling banner position on the homepage.